Images in a page/blog is a great way to get attention from the visitors. It is very easy to add images using HTML code. In this page, we will learn how to add an image in WordPress using HTML Code.
The HTML code to insert an image look like this:-
<img src="/path/to/image-name.jpg" alt="Alternate File Name"/>
Here,
img src = It is the HTML markup that tells the browser that the website is looking for the image file.
”/path/to/image-name.jpg” = Actual directory path of your image.
alt=”Alternate File Name” = It will provide an alternate name for your image when the user is using a screen reader with the image turned off or when it takes time to load the image.
/> = This is closing tag.
Steps Required
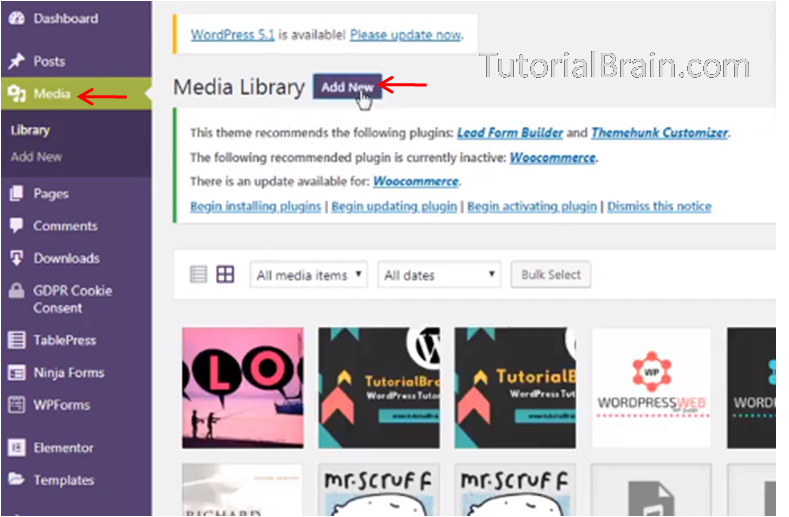
- In Dashboard, go to Media and click on Add New.
- Select File > Select the image from your computer > open.
Now the image is uploaded to your media library.

- Click on image and Copy the URL generated by WordPress for the image you uploaded.

- Then, Go to Pages > All pages and select the page in which you want to add an image.
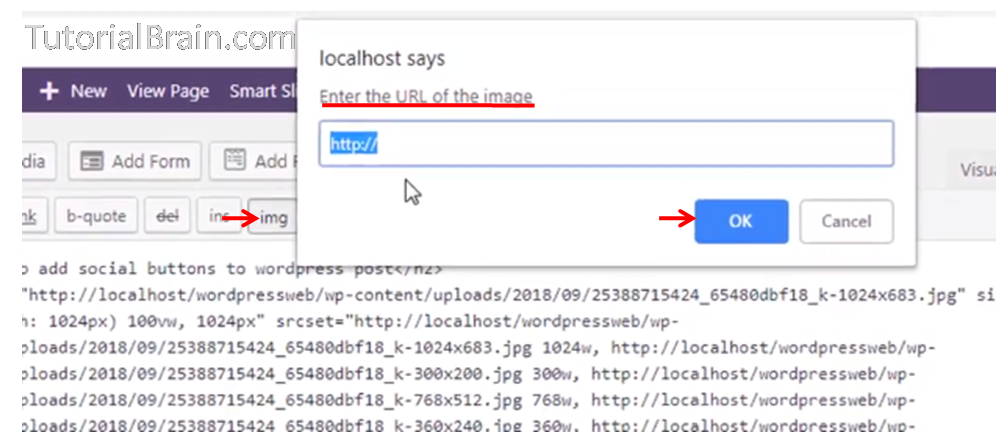
- Click on Text > Img > paste the copied URL in “localhost says” popup > OK.

- Enter the description of the image > OK.
- Go to visual > Update > Preview Changes.

So, the image is added to your WordPress page using HTML code.