Brackets Live Preview Feature
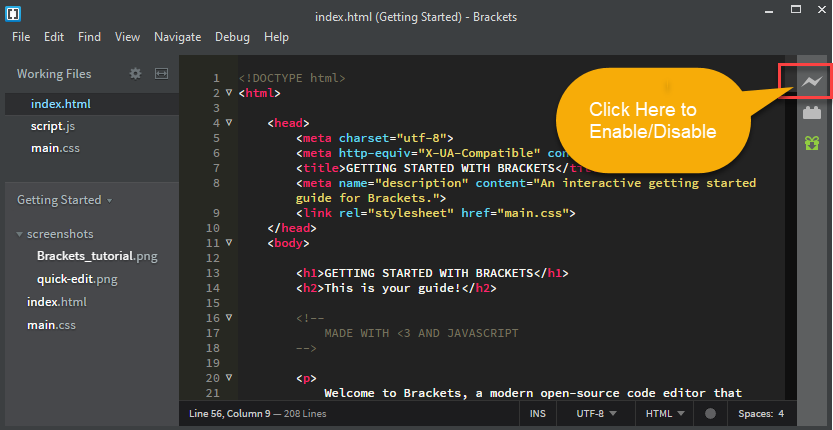
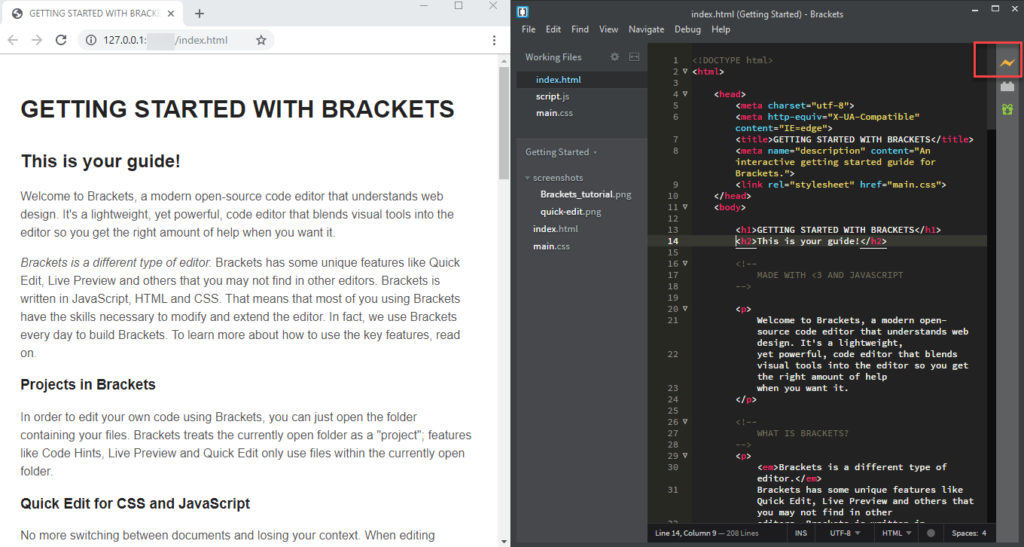
Bracket’s Live Preview is a beautiful feature which enables us to see the changes on a browser as soon as we do the changes.
The Shortcut for Live Preview is:
Ctrl + Alt + P -> For Windows
Cmd + Alt + P -> For Mac
Once you enable this option, your changes will be visible in the Browser immediately as soon as you edit the code without even saving the changes.
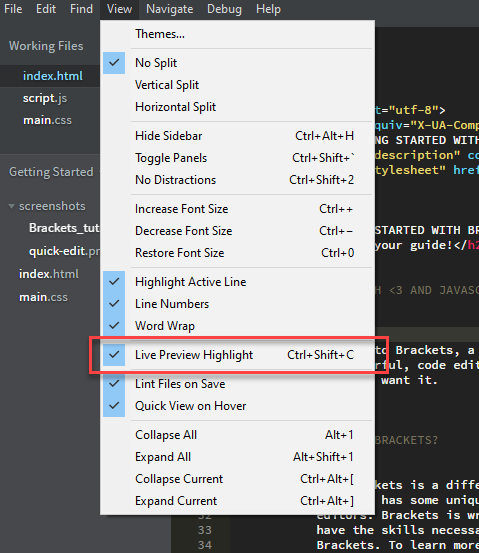
Brackets Live Preview Highlight
The Shortcut for Live Preview Highlight is:
Ctrl + Shift + C -> For Windows
Cmd + Shift + C -> For Mac
Bracket’s Live Preview Highlight is an extremely useful feature.
Before using this feature, you should make sure that the “Live Preview” is enabled.
This helps to fix any layout issues fast as you can place your cursor on the tag and it shows the layout/outline of that tag.
The “Live Preview Highlight” feature highlights the selected tag from the editor on the browser like below –
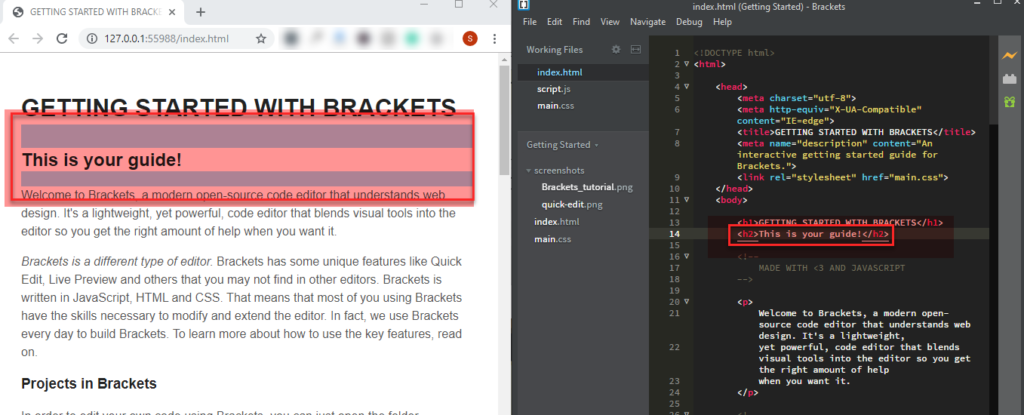
For Example, if you place your cursor on the <html> tag, the entire document will be highlighted. Similarly, if you place cursor on <body> tag, the entire content area will be highlighted and so on.
In the Example above, we have placed cursor on <h2> tag and it highlights that particular <h2> tags in the browser.
If you are in the CSS file and place your cursor on the <h2> tag, then it will highlight all the <h2> tags on the browser.
Note/Info:
The Live preview Highlight feature inspired by the Developer Tools feature of browser like Chrome.
Fix for Brackets Live preview not working
In few scenarios, the Live Preview feature might not work in Brackets. This can be due to the project setup done incorrectly.
Try following some of these steps to fix this issue-
- Method 1 – Uncheck the “Enable Experimental Live Preview” option and click on the “Live Preview” to verify. If this option is already unchecked, then check this option and try the live preview again.
- Method 2 – If the above method does not resolve the issue, then create a new folder and copy any html file from the old folder or create a new html file. Now, select the folder from Brackets and click on the “Live Preview” to verify.
- Method 3 – Make sure that your localhost is pointing to the correct path.
For PHP page, you need to set the local URL.
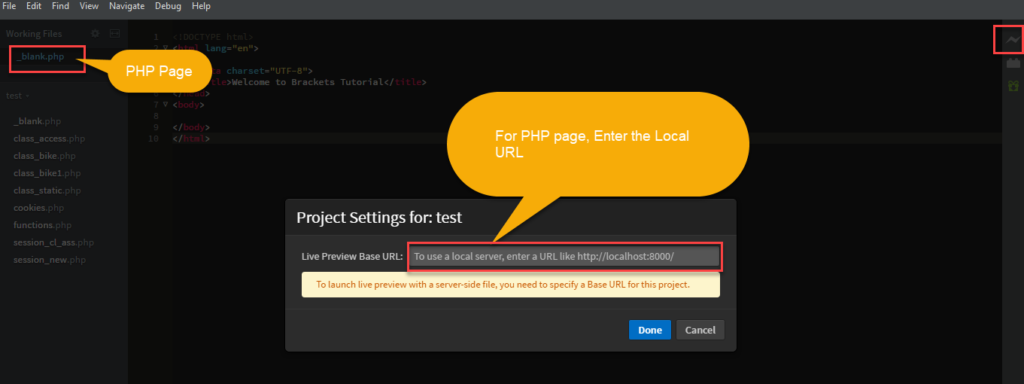
Suppose, the project name in your local server(XAMPP, WAMP, MAMP, etc) in your computer is “mywebdev”, then the localhost url will be “http://localhost/mywebdev“.
By default, the Brackets text editor opens the HTML document in Google Chrome browser.
If you wish to enable the Live Preview in all the browsers, then follow this –
- Go to Debug -> Open Preference file and change this line from – “livedev.multibrowser”: false to “livedev.multibrowser”: true
- Close the Brackets Code and open again.
- Click on the “Live Preview” and it will start in your default browser like Mozilla Firefox or any other browser.
In short, you need to set up the project URL for any types of projects like static or dynamic pages.
Once, you set up the project url, it will work fine with simple HTML Page, or PHP page or a CMS like WordPress.
For WordPress, you need to set up your WordPress project folder as your local url.