Adobe Captivate Views
Working with the Adobe Captivate Views
You can create the project with ease in adobe captivate with the help of the overview that keeps the work environment more flexible and consistent.
The Adobe Captivate has the following three main views:
- Storyboard View
- Branching View
- Edit View
At the top of the Project Window, click the View tabs or press Cntrl+Tab to navigate between the views.

At the bottom of the screen, you can see each view displays a window that displays the add, edit, and view the notes refers to each slide in your project.
Using the Storyboard View
When you open a project from the Start page, the storyboard View appears with small images which represent the slides that add up to the project.
The Storyboard View makes your way easier to see all of the slides within a project in a brief. It also allows to see the flow of the project.
You can also change the properties of the multiple slides at a time.
- Hold down the Shift or Cntrl key to select multiple slides
Press Cntrl+A to select all slides at a time.
Using the Branching View
To open the Branching View, click the Branching tab. It gives a visual representation of all the links between the slides in a project and allows you to edit those links quickly.
The left pane consists of Overview, Properties, and Legal areas which can be a collapse.
The Properties area displays the link properties of the selected slide/link and allows you to edit the navigation type. The Overview section describes how each kind of link between the slides has appeared.
The main pane displays the type of link between the slides and allows you to select and find the slide you want to review. The bottom pane displays and allows you to add notes for the selected slides in the main pane.
The Branching View specifically useful when you create instructional materials which contain question slides and specifies the different paths for right/wrong answers. For instance, if the user provides a correct answer, then you can set an action called “Go to the next slide” or if the user provides an incorrect answer then you can set a different action like “Open URL or file”.
You can easily change the branching design by using the branching view. You can also export the existing project of an Adobe Captivate with the help Branching View into a JPEG, BMP, or JPG files.
Using the Edit View
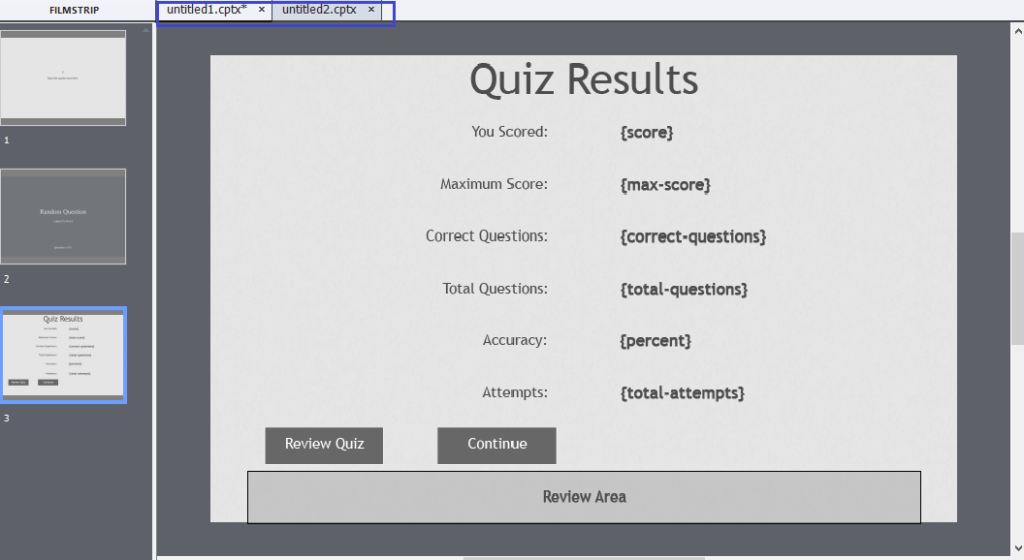
To open the Edit View, double click a slide in Storyboard or Branching View. Once the Adobe Captivate Project has recorded, you will spend more time in Edit View to add the objects such as images, video, audio, click boxes, and captions.
Actions like altering the mouse movements and changing mouse pointer kind of many actions you can perform by using this view. The Edit View also allows you to see the Library, where the media items will be listed in a project and view and reuse the images, animation, backgrounds, and audio in your project. It also consists of the Timeline, Notes, and optional Filmstrip panels.