Create Virtual Reality Project
Most of the features in the Adobe Captivate (2019) are improvements to existing features, but there is one feature which is added in the Captivate is truly new and innovative and i.e. Virtual Reality Project. You can create a virtual reality project through 360° image or video to give a perception of reality around you.
Let’s see how to create a Virtual Reality Project using 360° image.
- Launch Adobe Captivate on your Desktop.
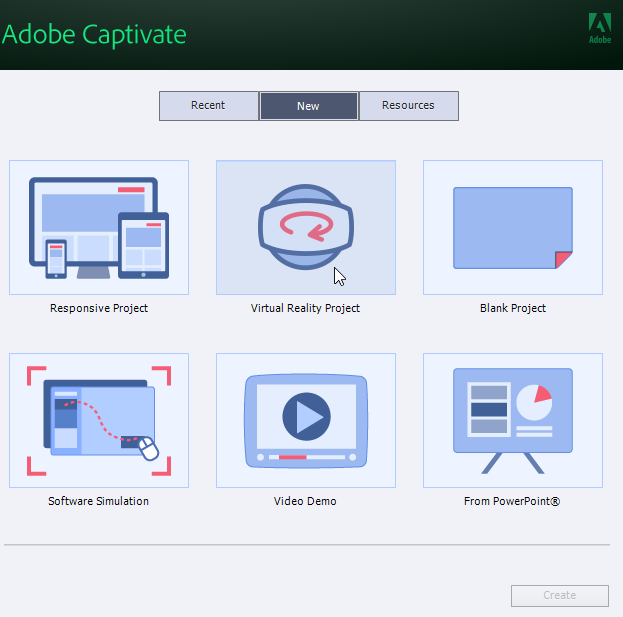
Select Virtual Reality Project from the home screen and click Create. If you have already in the project, go to File menu, select New Project > Virtual Reality Project.

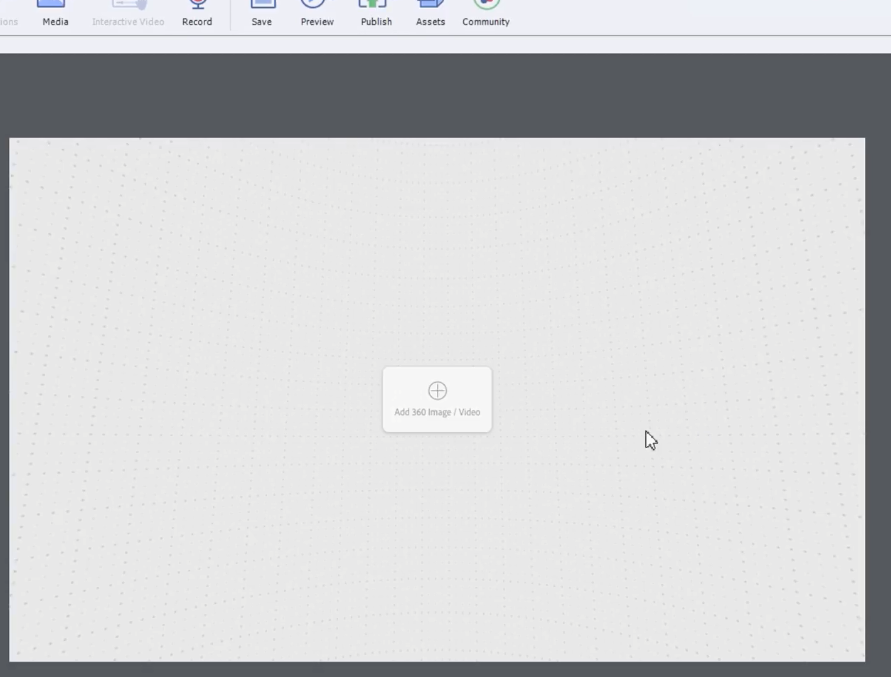
- Once you click on the create, you can see a blank slide with an option of plus symbol quoting with Add 360 Image/Slide.

- Now, click on the Plus icon to add Image or Video. It opens a Select 360 image/video window, click on the Import to add Image.
- Browse the desktop to required location to add required Image.
Note Image uploaded from the desktop should be a 360 image.
- You can drag and rotate the image in 360 angle on the Adobe Captivate.
- Now, you can add a Hotspot to image. Hotspots are common element which can be seen in an e-learning project which shows audio, text etc, by clicking on it.
- Go to Property menu, under Style tab you can find two options such as Guided and Exploratory. You can choose any one from that. Guided option shows the end user from one hotspot to other automatically when their set time expires, while preview or publish. Exploratory option shows the focused hotspot on the stage.
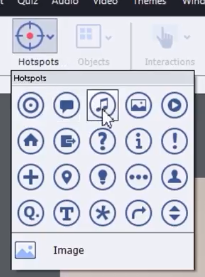
- To add a Hotspot, click on the Hotspot from toolbar. Select the required hotspot from the menu.

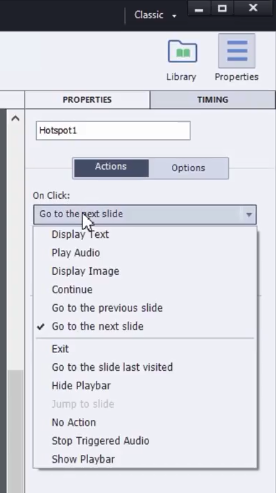
- Select the hotspot added to the slide and go to the Property tab, under action section, On click menu, select the required option to add it to the Hotspot.

- Select Display Text to add text to the Image. Select the Hotspot and choose Display Text and add required text in the Text In preview or publish, if you scroll on the required hotspot it shows the text added.
- Click on the Hotspot added and go to Property menu and under Style tab, you can find Must View Once option, if you check the option, you must click the required hotspot to jump another hotspot.
- You can add a question to the Hotspot. Select the required Hotspot and go to Property menu > Add Questions.
- From the Insert question dialog box, choose the type of the question.
- Click OK to add the question to the required Hotspot. You can change the font, color, and size of the text.
- Click the Publish button to generate the output in required format.
Note/Info You can publish it only for VR devices.
Let’s see how to create a 360 video using Adobe Captivate.
- Select the Virtual Reality Project from home screen and click Create. If you have already in the project, go to File menu, select New Project > Virtual Reality Project.
- Click on the Add 360 Image/ Video Select the Import option from Select 360 Image/ Video window and browse the required 360 video.
- Add the Hotspot and apply required actions to it as mentioned above.
- Click on the Preview button to preview it.
Click Publish and generate the output in the required format.