Tag Archives: featured

Interview tips for Freshers

How to find a Job

Imagine, you are trying hard to get a Job. 

Say, you attended 20 Job Interviews in last 6 months but you were not able to clear the Job Interview. One fine morning, you wake up at 05:00 AM and out of curiosity, you check your Email and you see an offer letter which says ‘Congratulations!!! You are hired‘.

What is your Feeling? Are you not in cloud nine? 

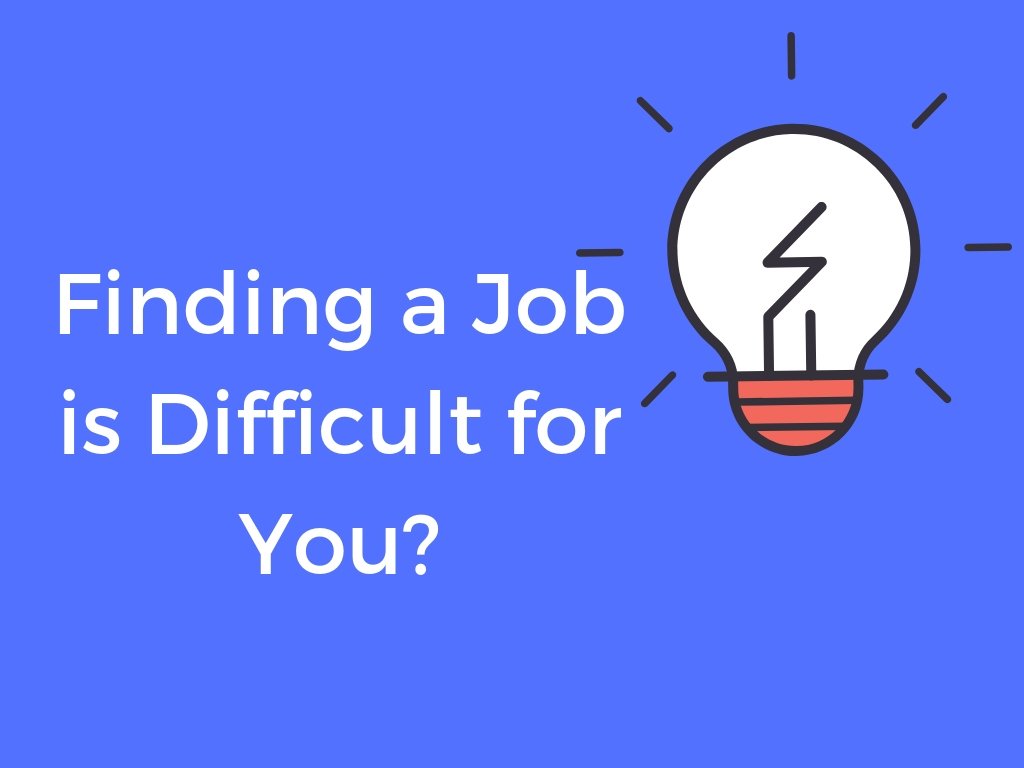
So, you want to read this article because the chances are that you did not get a job till now

Ok, READ THIS ARTICLE COMPLETELY AND WE ARE CERTAIN THAT YOU WILL GET A JOB IF YOU FOLLOW IT HONESTLY!!!!

Basic Interview tips to get a Job

The job market is getting extremely competitive day by day, this article will help you in getting jobs. 

We have mainly focused on Freshers because nowadays when we complete our education and try to search for a job, we face difficulty and sometimes we become confused also. So, we need someone who can guide us properly. 

DO NOT WORRY!! WE ARE THERE TO HELP YOU.

If you are looking for a guide, then you are at right place. Here, we have tried to gather as many information regarding freshers job and career guidance.

INTERVIEW TIPS
INTERVIEW TIPS FOR FRESHERS

Adobe Captivate Tutorial

Getting Started - What is Adobe Captivate?

The Adobe Captivate is an eLearning authoring tool that enables you for creating software simulations, HD video demos, Interactive videos, and Interactive quizzes.

It is an Adobe product and compatible for use with other Adobe products.

It can convert .SWF and HTML5 format files to MP4 format and converts Microsoft PowerPoint presentations to HTML5 or .SWF formats.

It is also used to create Screencasts.  Adobe Captivate (2019) is the current release at the time of writing this tutorial

Installation

Prerequisites

For Windows:

Operating SystemWindows 7, 8, 8.1 and 10
Note:  Windows with 64bit is supported
RAMStarting from 4GB
Hard disk driveMinimum of 10GB space should be available during installation
Note: Removable flash-based storage devices are not supported for installation
Processor> 2 GHz Intel processor
Resolution1024×768 display (1280×1024 recommended)

For mac:

Operating SystemmacOS v10.14.5 (or later)
RAMAbove 4GB
Hard disk driveMinimum of 10GB space should be available during installation
Note: Removable flash-based storage devices are not supported for installation
ProcessorMulti-core Intel processor
Resolution1024×768 display (1280×1024 recommended)

Supported Browser for SWF according to Operating systems

Browsers supported by Windows

  • Internet Explorer versions 8, 9, 10, 11
  • Google Chrome Latest version
  • Mozilla Firefox 4.0

Browsers supported by Mac-OS

  • Safari 6 (or later
  • Chrome (latest)

Supported Browser for HTML5 according to Operating systems

Browsers supported by Windows

  • Internet Explorer versions 9, 10, 11
  • Google Chrome 67 or later
  • Microsoft Edge
  • Mozilla Firefox 60 or later

Browsers supported by Mac-OS

  • Safari 12.1.1 or later
  • Chrome 70 or later
  • Mozilla Firefox 60 or later

Supported Browser for VR Content Playback according to Operating systems

Browsers supported by Windows

  • Google Chrome latest
  • Microsoft Edge
  • Mozilla Firefox 64.0 or later

Browsers supported by Mac OS

  • Safari 12 or later
  • Chrome latest

Languages Supported

  • English
  • French
  • German
  • Japanese
  • Korean
  • Portuguese (Brazilian)
  • Spanish

Download Captivate

To download Adobe Captivate, visit the official site and follow the instructions.

Install Captivate

After downloading the Adobe Captivate file, Run the setup file and follow the instructions accordingly to finish the installation.

Adobe Captivate - Install Captivate

Software Activation

Once the software is installed, you’ll be notified to activate your software with the license key within the 30 days of software being installed.

If you do not have a serial number, you can use Captivate as a trial for 30 days.

If you find any difficulties in activating the software, see the Read Me file on your installation DVD, or visit the Adobe Website.

Build a Project

Create a blank project

Let us get started by creating a blank project

  • Launch the Captivate tool
Adobe Captivate - Home Page
  • Select Blank project with required dimensions
  • Click OK

A new project has created with a blank page.

How to add text captions to a slide

Let’s add a text caption to slide

  • Click on the Text in the toolbar and then select Text New text caption is inserted on the slide, and the Placeholder text is placed
  • Enter the required text
  • Click anywhere in the blank space on the slide to exit Text Caption

Select the Text Caption and then drag it to anywhere in the slide as desired

How to apply themes

  • Click Themes in the toolbar
Adobe captivate Themes
  • Select the drop-down menu and then select the desired theme
  • Click OK

The Theme is applied for all the objects in the project.

How to add images to a slide

Now, let’s add an image to slide to make it look good.

  • Click the Media in the toolbar and choose the image to add
  • Use the handles of the image to adjust the size
  • To move an image to the desired location, simply select the image and drag it
How to add interactivity to object in a slide

Let’s see how to add an interactive button to start the presentation.

  • Click the Interactions in the toolbar and choose the Button
  • After the button is placed, you can change the properties of the button
  • Click the Properties from the toolbar, go to the Style tab
  • Go to the Caption field to change the caption of the button
  • To move the button to the desired location, simply select the button and drag it
Preview the Project

You can preview the project at any time to check how the project is looking.

  • Click Preview from the toolbar and then choose Project to preview the entire project

Preview will be displayed, which shows the entire project.

Publishing the project

Let’s see how to publish our sample project.

  • Click Publish from the toolbar
  • Select the Publish to Computer for the first time for storing the file in local disk
  • Select the required output format
  • Enter the name in the Name field and select the required destination folder from Browse to store the file
  • Click Publish to generate the file